photo aboutus_zps72b4528a.jpg  photo fashion_zpsd5a79a41.jpg  photo handmade_zps6c44253c.jpg  photo recipes_zps2829987f.jpg  photo popculture_zpsc1606063.jpg  photo odds_zpsc2c2e360.jpg  photo links_zpsa73b8e77.jpg
Showing posts with label craft. Show all posts

Friday, January 25, 2013

DIY Idea Jar.


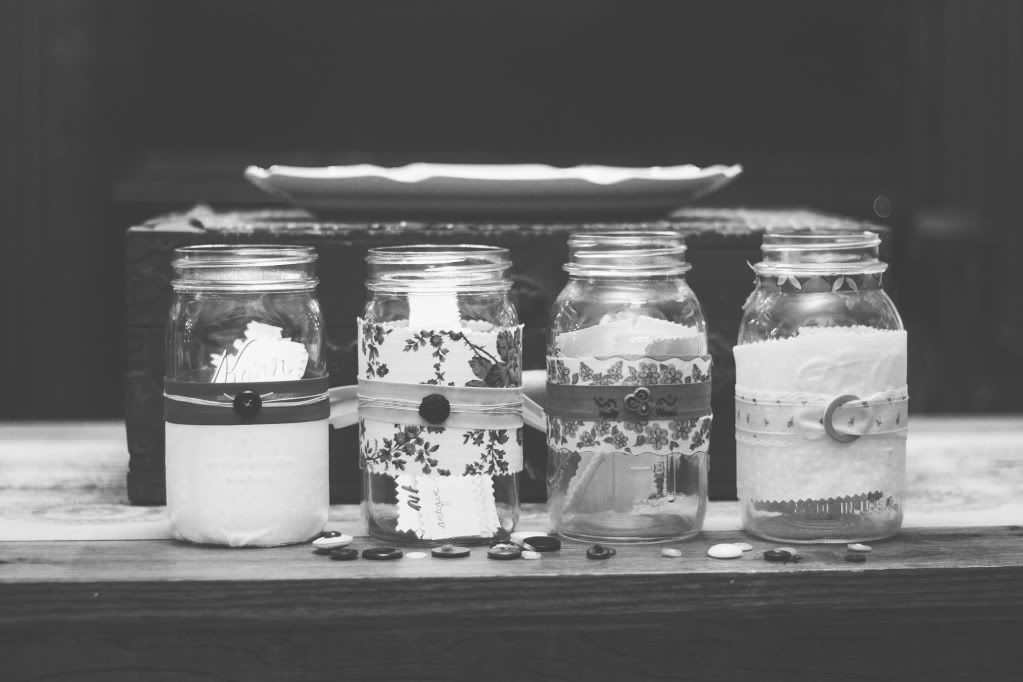
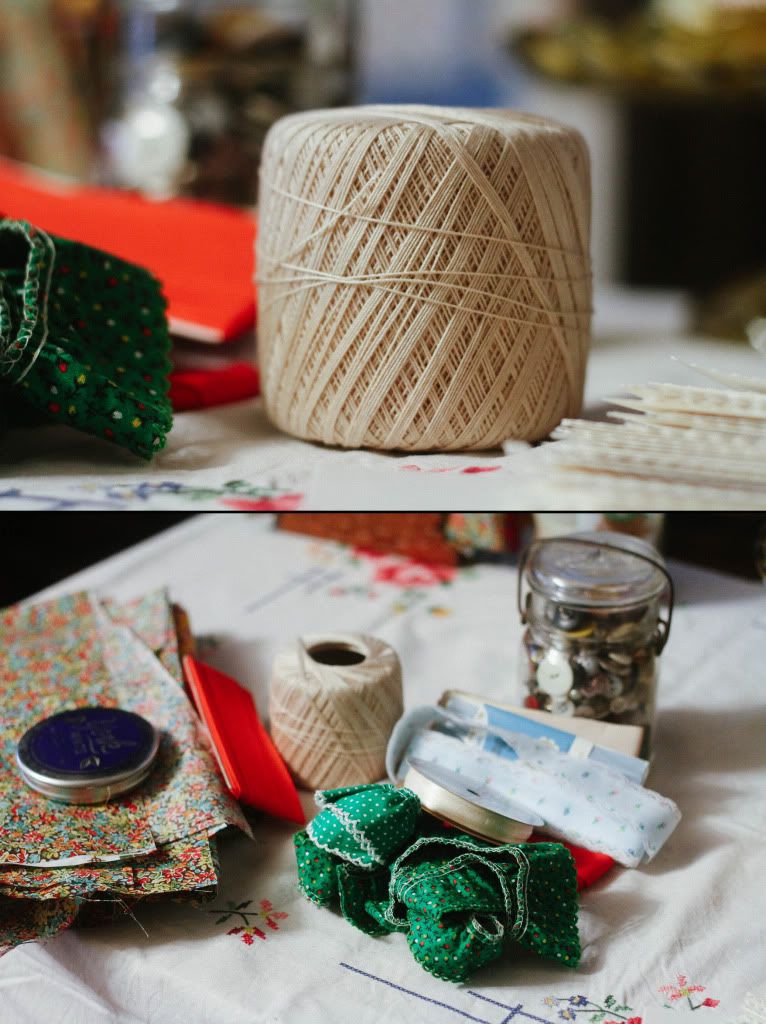
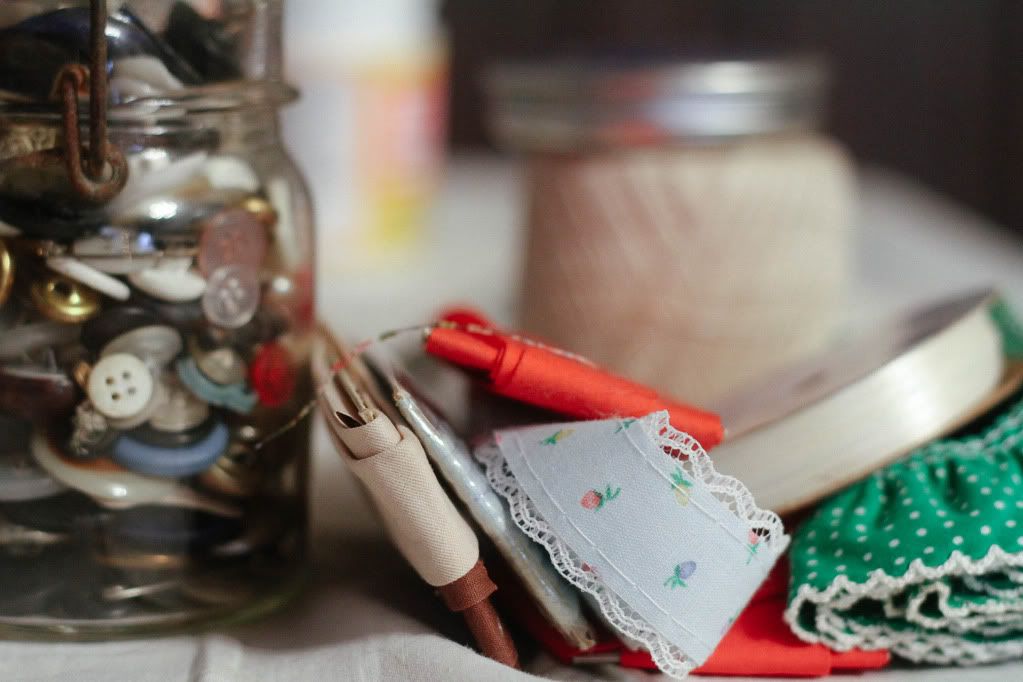
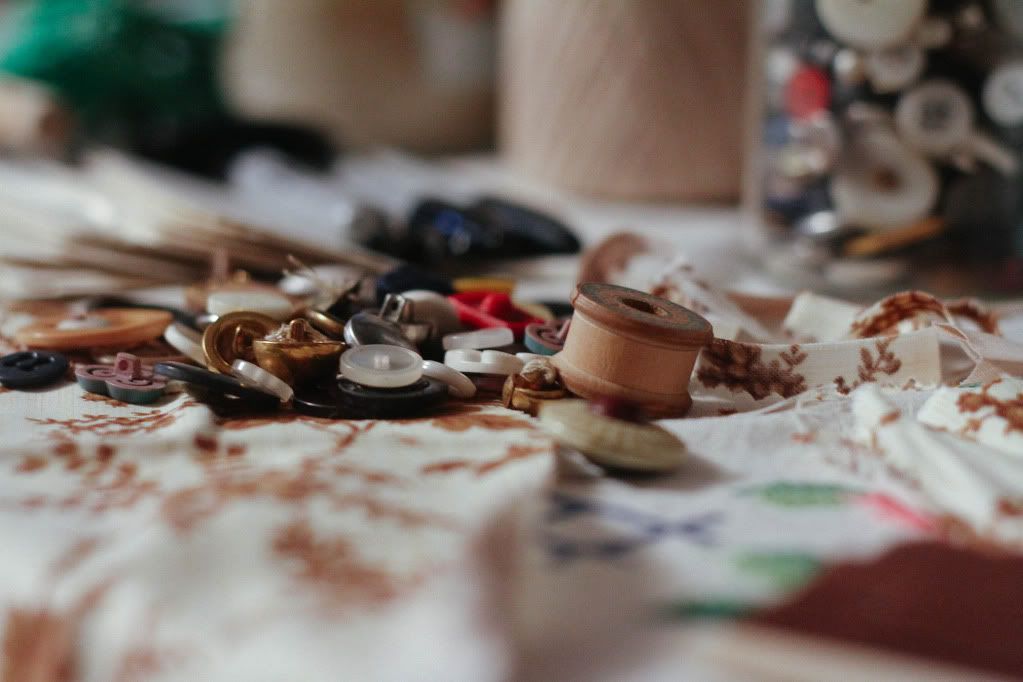
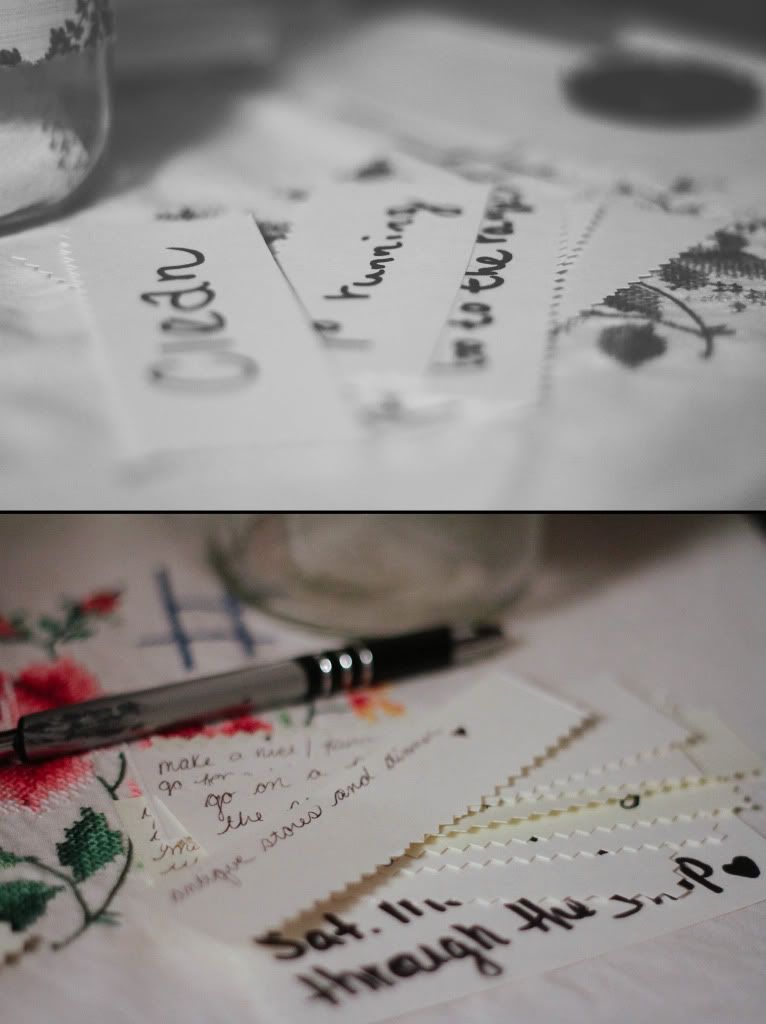
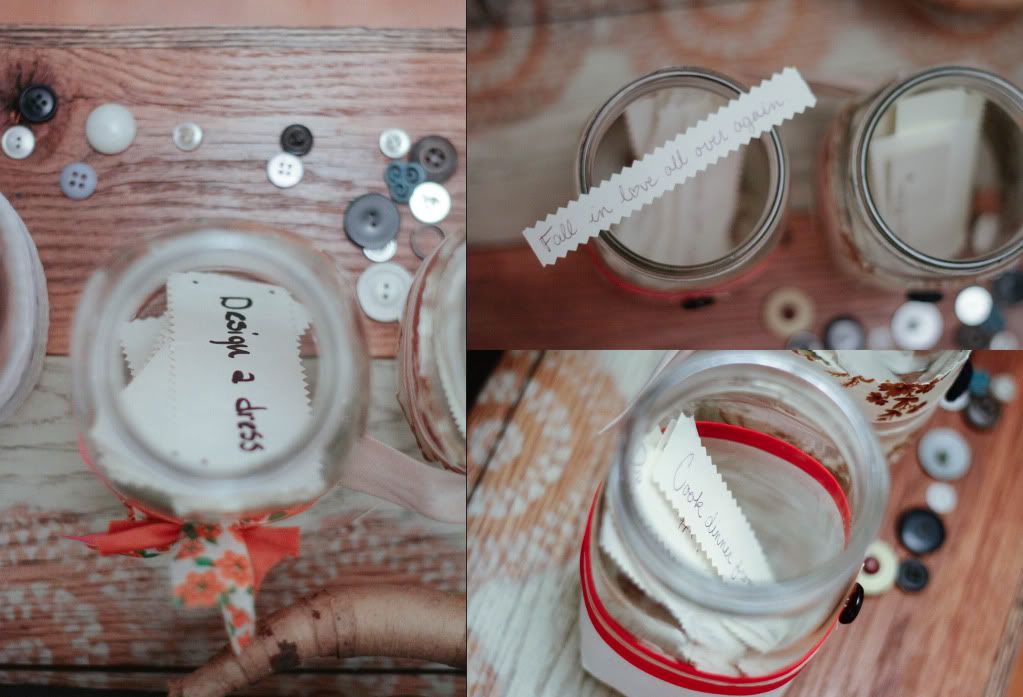
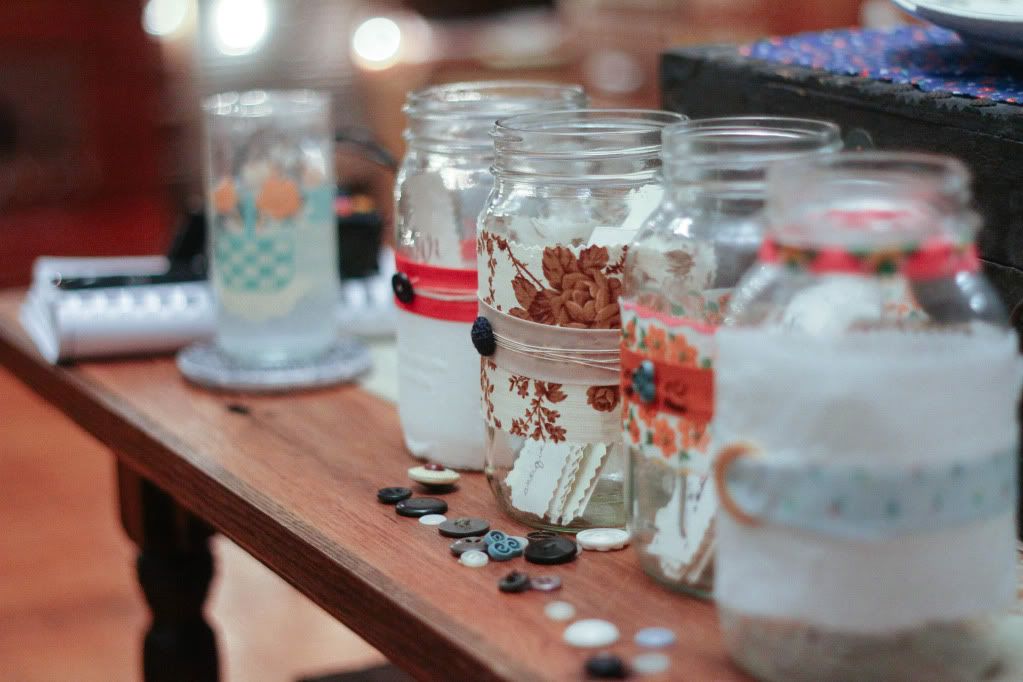
My sisters, Shiloh & Hannah, came to see me a couple weeks ago and we had a little craft night where we put together some "idea jars". Our dear friend, Rachel, also joined in on the excitement. While Shiloh & Hannah went with the standard idea or bored jar, Rachel and I made our's into "date jars". I always seem to have a plethora of mason jars laying around as well as plenty of fabric scraps & other little crafty items, so we were pretty much set.

Supplies needed:
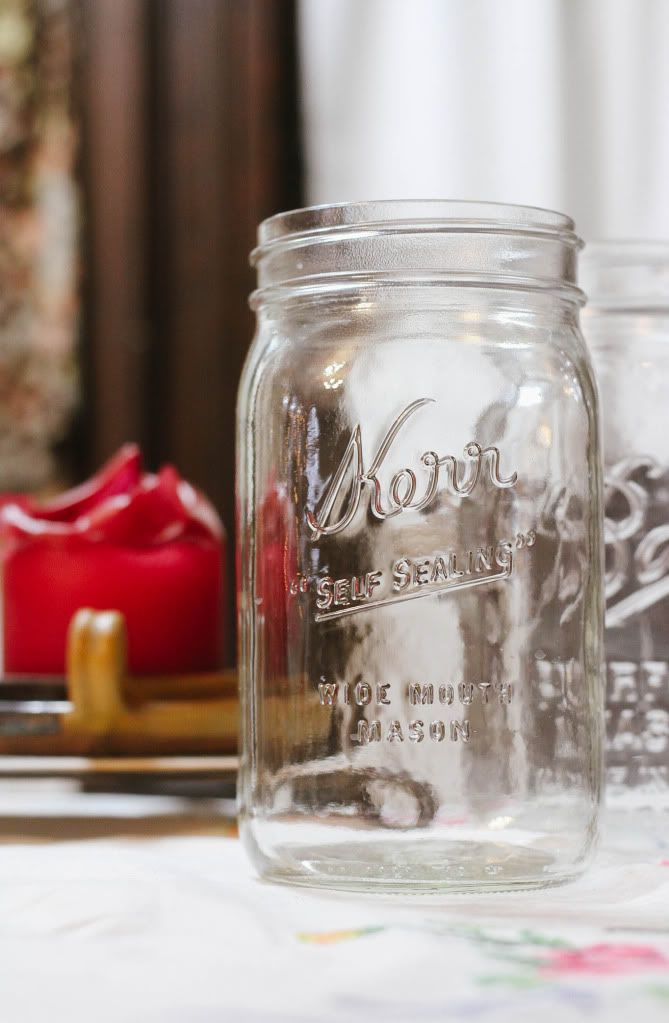
Mason jar.
Glue.
Ribbons, bows, buttons, or anything else you want to use for decorating.
Papper scraps to jot down your ideas.


I don't know about any of you but I'm definitely guilty of wasting time, simply because I can't think of something to do. I think this is a great little motivator. So whenever I have an idea for a date or something else I really want to try, I just write it down and drop it in the jar. And, anytime I need a little push to do something I can just pick from those ideas. Plus, it looks pretty cute on my living room desk. 
Hope you find this helpful!

-sarah

Sunday, August 12, 2012

DIY Lemon Salt Scrub.

I recently found this neat little recipe for a simple skin exfoliant that can be made from three basic kitchen ingredients. 
All you need is:
5 tablespoons of sea salt.
1 tablespoon of olive oil
1 lemon.


All three ingredients are known to be good for the skin in one way or another.
Olive oil is a common folk remedy for dry skin & may also protect your skin against sun damage.
Sea salt is a natural detoxifier for the skin & lemon juice has been said to help reduce the appearance of scars and treat acne among others.
So this little mixture is pretty much a win. Give it a try & let me know how ya like it!

-sarah

Friday, May 4, 2012

Community Yard Sale!

Hello! If you happen to live in or around Pittsburgh and have nothing to do tomorrow you should check out our community yard sale in south side. There will be vintage/crafts/junk/food/music! It is from 8-1 and the address in 2700 Jane st. 15203. Come say hi!


-the gals.

Saturday, March 24, 2012

DIY Tea Cup Pincushion


Every time I go vintage/thrift shopping I always seem to end up coming home with at least one little teacup. I enjoy collecting & using them as part of my home decor. As well as using them for craft projects and so today I made myself a little pincushion with one of these sweet thrift finds.

Supplies needed:
teacup
scrap fabric
scissors
glue
stuffing
paint brush


Cut out a circles about 4 inches wider than the cup.


Sew a running stitch around the fabric and stuff right
before closing it up. Next using your paintbrush cover
the inside of the cup with glue & place your fabric puff inside.
Let dry & you are good to go!


Enjoy & have a lovely day!

-sarah

Saturday, February 25, 2012

DIY Super Simple Curtains.

For months now I have been dying to get new curtains in our living room, the old ones were just too dark and bulky. I want to allow what little sunshine we have the chance to peak into our home, so this morning I made some quick little curtains that will do the job.

Supplies needed:
sewing machine
pins
scissors
measuring tape
2 pieces of fabric that measure 36x32 inches (I used to different patterns because I didn't have enough of just one but I really like how they turned out!)


Measure and fold approximately 2 inches at top so there is
enough space to fit your curtain rod through.


Pin and sew!


Hem other edges about 1/2 inch.


I am so ready for spring!
Oh hey! Don't forget to check out the Melisa's super cute giveaway on The Prairie Hen's blog!

Have a wonderful weekend!
-Sarah

Tuesday, February 7, 2012

Decoupage City

In the few months our blog has been up and running, it has proven to be more of a success than a failure/waste of time, so we are getting serious about sponsorships and other important things that involve us doing more than just writing. Treasurer being one of them. Jokingly, I told Melisa that I would be treasurer like Claudia from The Baby-Sitters Club.(Side note: it's been a while since I have experienced the BSC, and Stacey is the treasurer, which works out because on the quiz we took I was Stacey.) Cut to our monthly blog meeting, and this becoming a reality. One of my tasks was to make a treasury box. CHALLENGE ACCEPTED!

Decoupage-ing is one of my favorite crafts to do. Follow me on my ridiculous task.

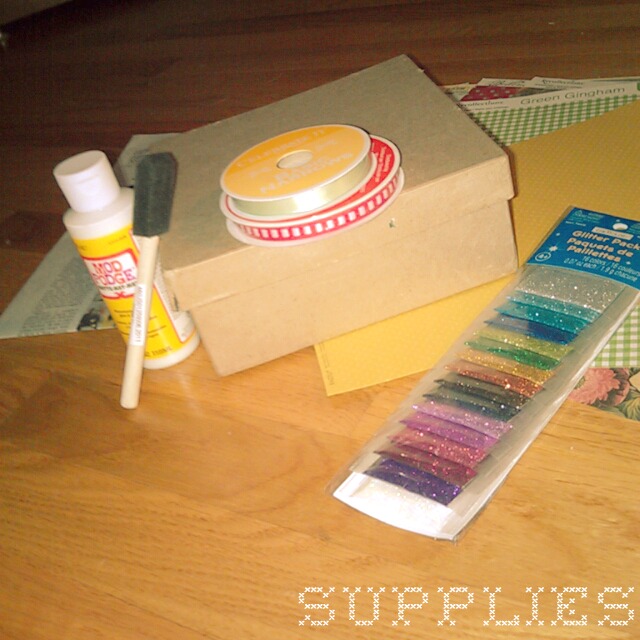
What you need:
Newspaper to lay down on your work surface
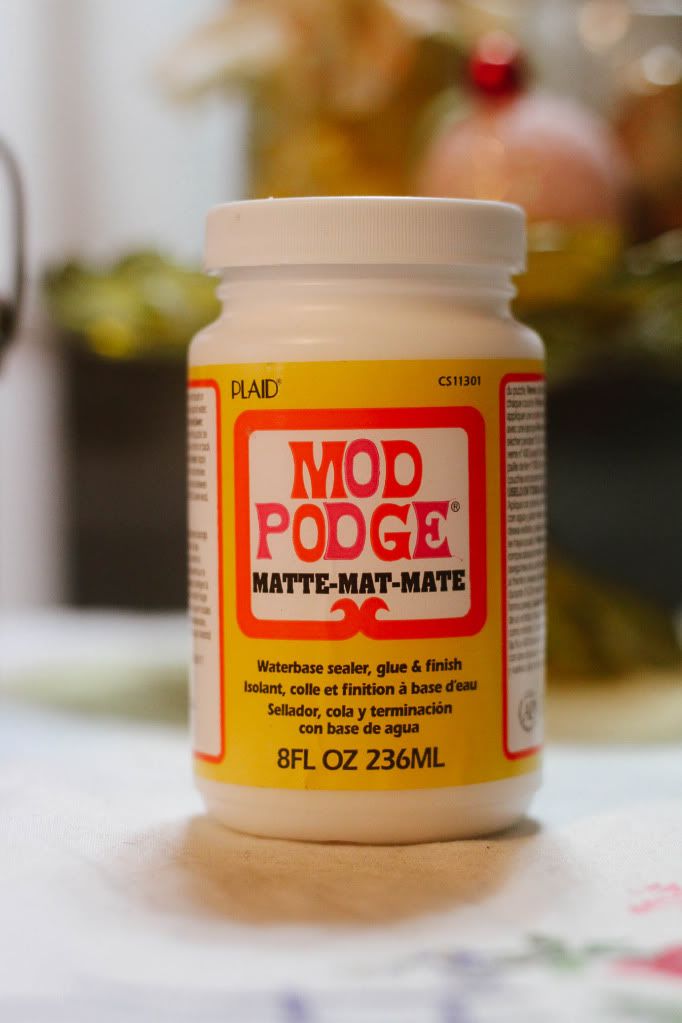
Mod Podge
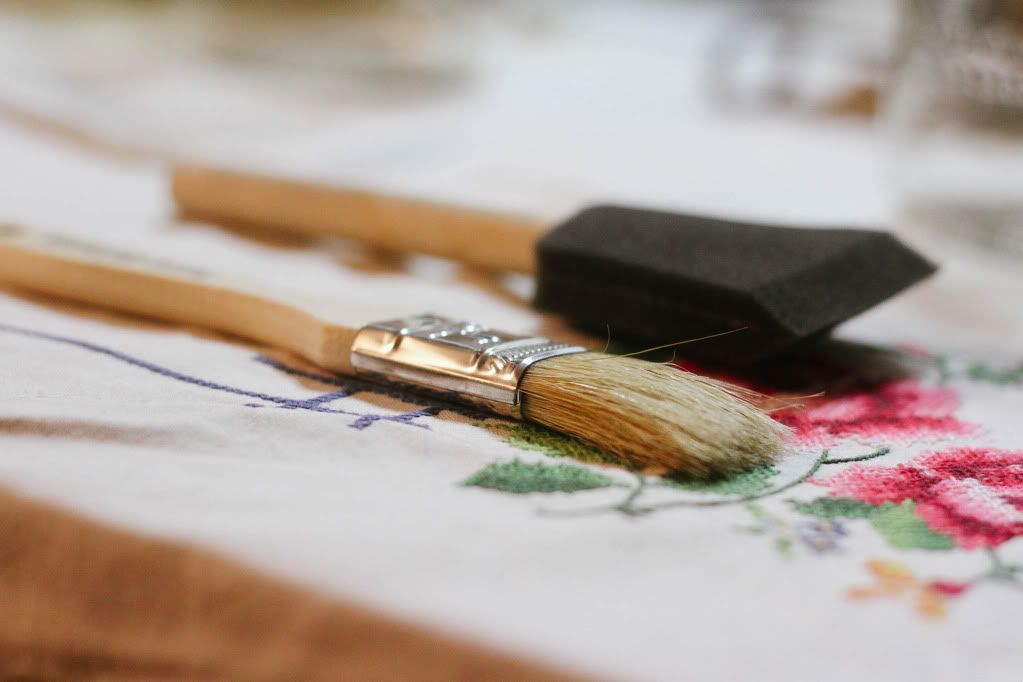
Foam brush
Ribbon
A box (I bought one made out of heavy cardboard)
Scrapbook paper
Glitter
All of these supplies can be found cheap at Michael's. Don't be shy to ask about coupons at the desk. Worked for me!


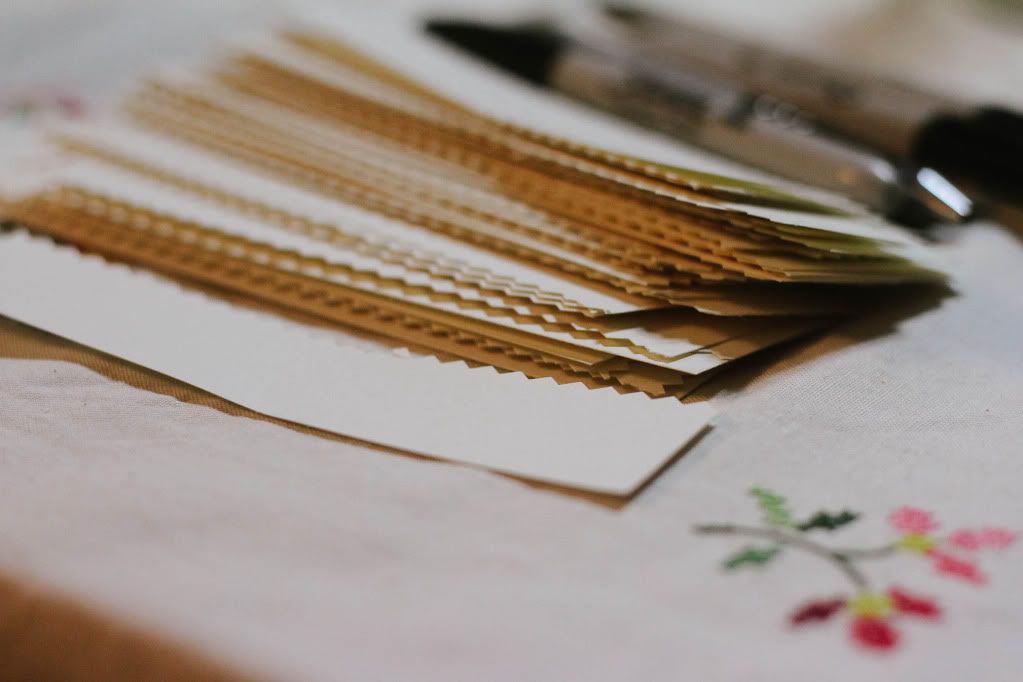
1. Tear the scrapbook paper pages into pieces. The more jagged the better!

2. Spread a thin layer of Mod Podge on a small portion of your surface.

3. Place a few pieces of paper, overlapping is preferred, on the glue. Paint another thin layer on top of the pieces. Make sure you spread it out evenly, using your fingers to press some pieces down if necessary.
Be sure not to overdo it with the glue or the box will get soggier than a potato chip at the bottom of the ocean.

4. Cover the entire exterior of your box. Let dry completely. This may take a few hours.
You may need to let some sides dry slightly before you can finish another. Just move on to the other piece you have to finish.

Use ribbon and glitter to adorn your new little box.

Let the nostalgia ensue.

Now I have a pretty box to make my duty cuter. I know that I got The Baby-Sitters Club theme song stuck in my own head, so I will say "you're welcome" now to those who have also been plagued by the catchy, bubble gum tune.

-andrea


Thursday, December 15, 2011

Craft Show Highlights

Sorry this is a few days late! December has proven to be extra busy this year.
Last Sunday we were all apart of the Hello Bully craft show that was held downtown. We had kind of a low turnout... but it was the first time all four of us were able to get together in weeks so it was well worth it! We spent the day nibbling on Andrea's scrumptious cupcakes, gushing over cute Sadie Fay pictures, giggling at the man who wanted nothing more than to eat the doggie treats (yup, for dogs) being sold by the lady set up next to us, sippin' on gas station coffee, and hangin' out with friends.
It was a lovely day. <3

This girl needs to open a bakery!


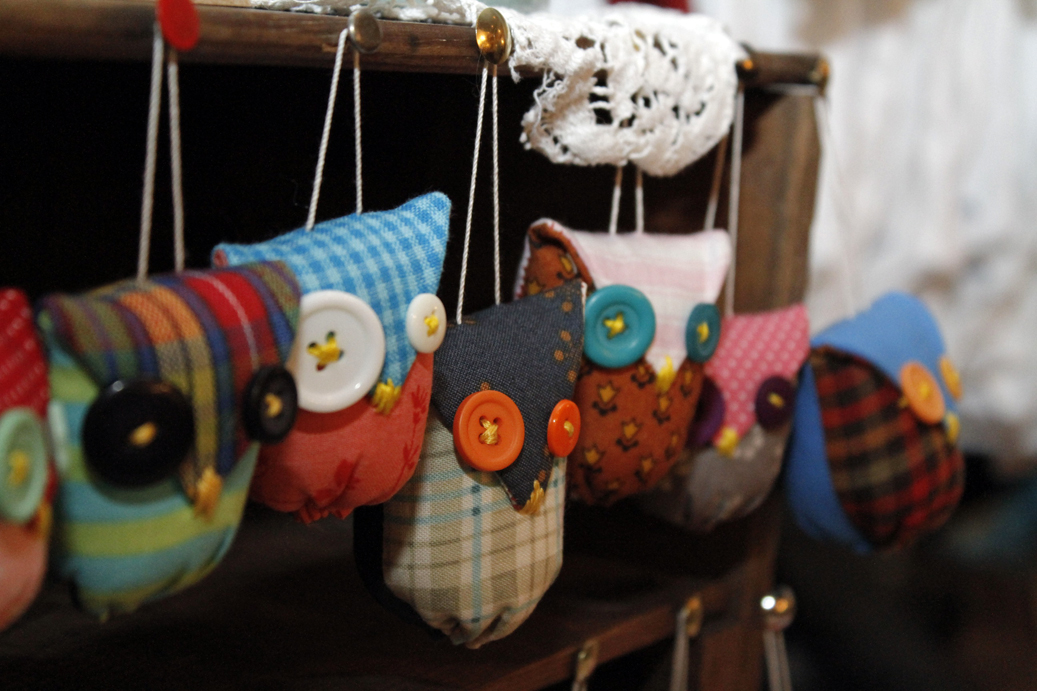
Get Melisa's little owls on etsy!

Recipe  for honey butter!
Jake's shop.

- the gals

Thursday, December 1, 2011

D.I.Y Burlap Christmas Banner

A few days ago my bff, MaryEllen, and I had a little craft date and I made this little Christmas banner for my living room. Just thought I would share a quick little tutorial!

Supplies needed:
1 yard of burlap banner.
1 1/2 yards of string or twine
needle and thread
scissors


cut burlap into 6 inch pieces.

i was originally going to use twine but opted
for the christmasy colors of the string.
fold the top of each piece over about an inch and stitch.

use a needle to help thread the string through each piece.


Enjoy and happy Christmas decorating!

-sarah