photo aboutus_zps72b4528a.jpg  photo fashion_zpsd5a79a41.jpg  photo handmade_zps6c44253c.jpg  photo recipes_zps2829987f.jpg  photo popculture_zpsc1606063.jpg  photo odds_zpsc2c2e360.jpg  photo links_zpsa73b8e77.jpg
Showing posts with label sewing. Show all posts

Friday, May 10, 2013

DIY Grocery Bag.

Recently Jake and I upgraded from a twin bed (all the better for cuddles) to a full, so now I have been left with a pile of sheets that I can not longer use. I decided to do a little repurposing and make some cloth bags to use for the grocery store. Very simple!

Materials:
2 pieces of fabric 20x15 inches
2 pieces of fabric 29x4 inches
scissors
iron & ironing board
sewing machine


Once you have cut an ironed out your 20x15 inch fabric pieces, hem & pin 1" at the top (15in. side). Sew down the folded edge of both pieces.


Next, take the two 4x29 inch pieces of fabric and fold them lengthwise with the good side facing  inwards & iron the along the crease. 


After you have sewn the straps from end to end, trim the edge and turn right side out and iron.
Pin the straps onto the panels (approximately 3 inch down) and sew them on by using a box or an x stitch.
Once your strap are completed, pin the edges of the panels together (good side facing inwards) and stitch all around. Turn right side out and you're done!


Happy grocery shopping!

-sarah

Friday, November 9, 2012

DIY Doubled Sided Rick Rack Napkins.


I've been slowly teaching myself how to sew by starting out with very simple projects. I recently started to make my own cloth napkins & I wanted to share one of the patterns that I used.
They are super cute & easy.

For this napkin you will need:
Two 18x18 inch pieces of fabric
Rick rack
Pins
Sewing machine


To start you place the two pieces of fabric with the right sides facing each other, then pin the corners to make sure that they are lined up.


Next, you will want to lay your rick rack just along the edge of your fabric and pin all the way around. Leave about about a two inch opening, so you can turn the napkin right side out when you are finished sewing.
The next step is to sew all the way around, turn right side out, & stitch up the opening.


That's it! Simple and fun. I'm sure they would make great Christmas gifts as well!
Enjoy.

-sarah

Saturday, February 25, 2012

DIY Super Simple Curtains.

For months now I have been dying to get new curtains in our living room, the old ones were just too dark and bulky. I want to allow what little sunshine we have the chance to peak into our home, so this morning I made some quick little curtains that will do the job.

Supplies needed:
sewing machine
pins
scissors
measuring tape
2 pieces of fabric that measure 36x32 inches (I used to different patterns because I didn't have enough of just one but I really like how they turned out!)


Measure and fold approximately 2 inches at top so there is
enough space to fit your curtain rod through.


Pin and sew!


Hem other edges about 1/2 inch.


I am so ready for spring!
Oh hey! Don't forget to check out the Melisa's super cute giveaway on The Prairie Hen's blog!

Have a wonderful weekend!
-Sarah

Thursday, January 5, 2012

The Wonderful Wizard of Oz

My mom doesn't think she is that great of a seamstress, but many think otherwise. She used to make our Halloween costumes every year and countless dresses for my sister and I. Now, she has two grandgals to spoil with homemade dress up clothes.


Her latest project was a Dorothy dress for Ads. The Wizard of Oz has been a staple in our family since my sister was a little girl. It was her absolute favorite (still is, see her special tree here) and now it's Addison's favorite too! Talk about "like mother like daughter". She wears this dress everyday, carries an imaginary basket with Toto in it, and each member of the family is a different character. I am the scarecrow if you were wondering.

The beginning of the movie is sepia after all...

She's 'off to see the Wizard'!


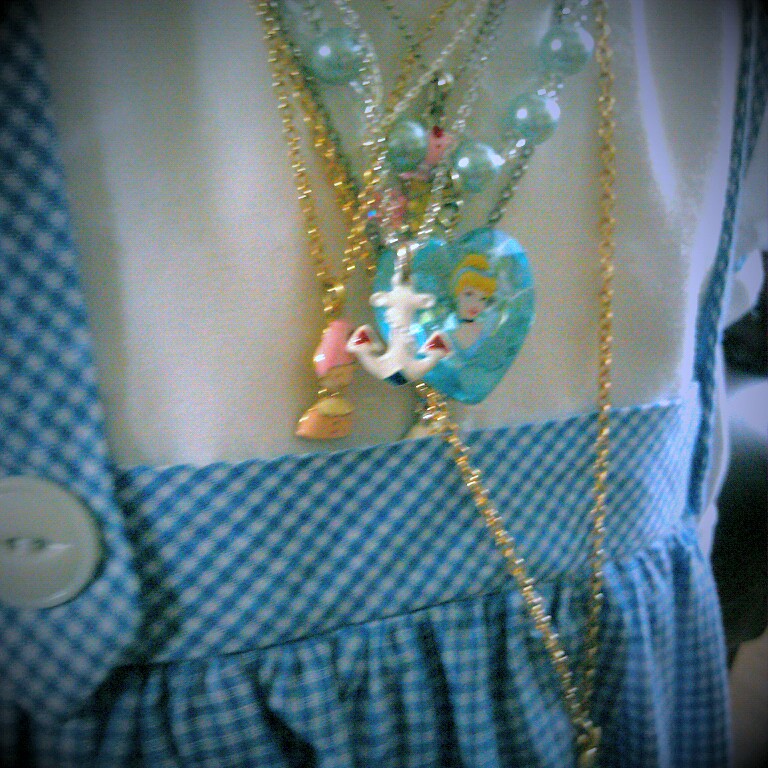
Dorothy loves to accessorize, right? She said she couldn't decide so she just put them all on. She's also a woman....I can't even take this little girl.


I think my mom did a pretty swell job. I am off to see the wizard known as the barista at my local Starbucks! Enjoy this sunny day!

-andrea