


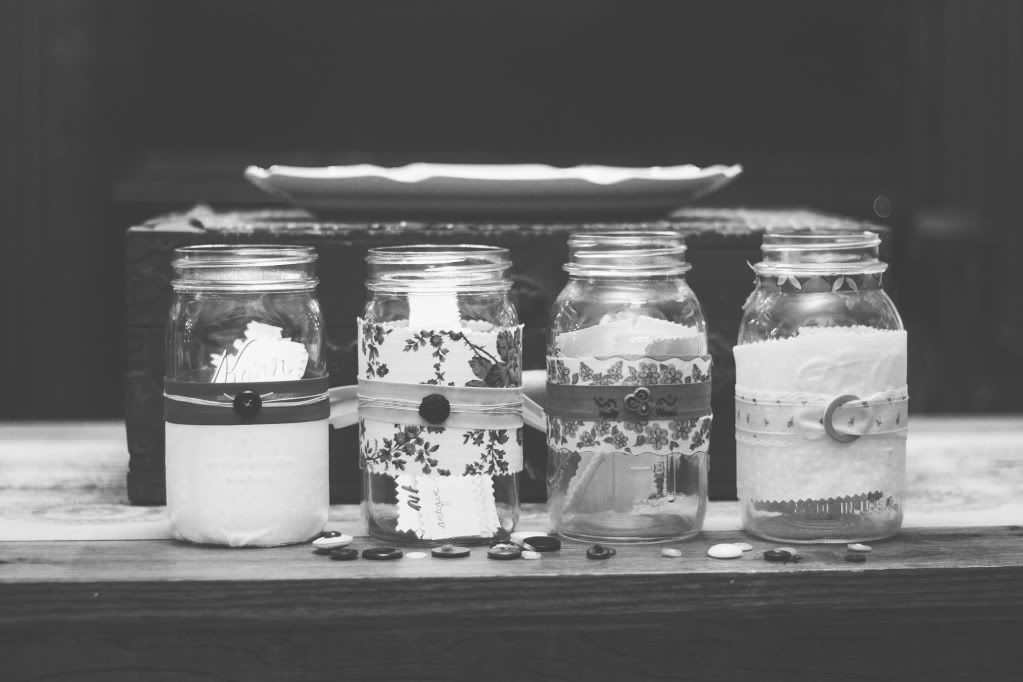
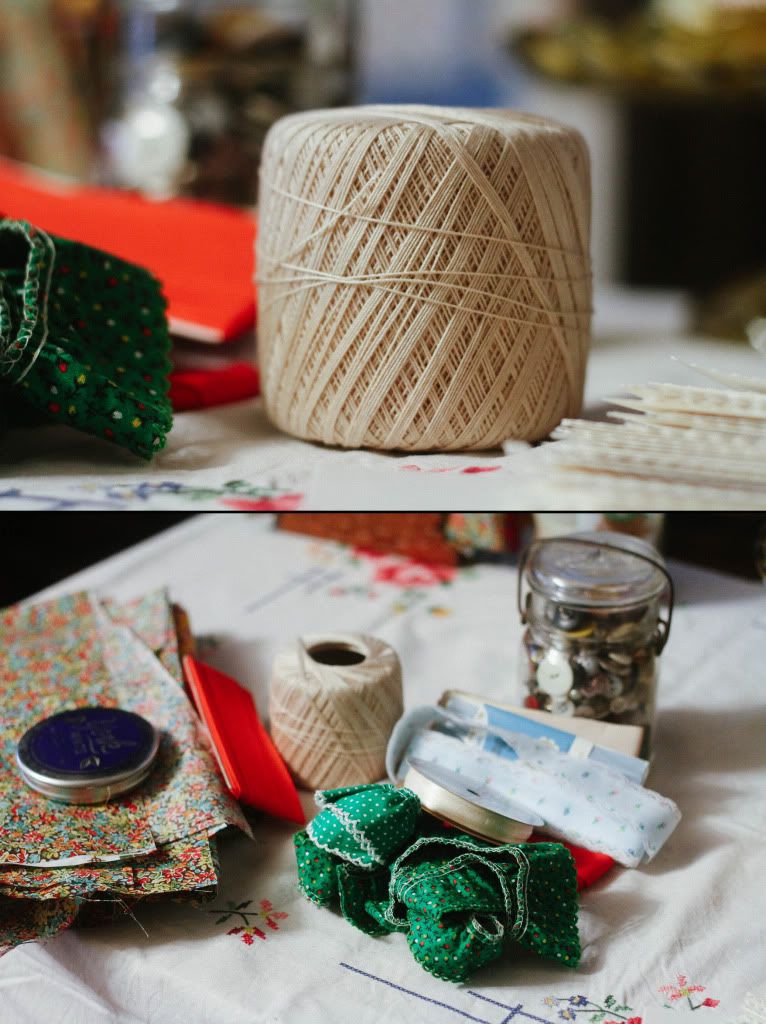
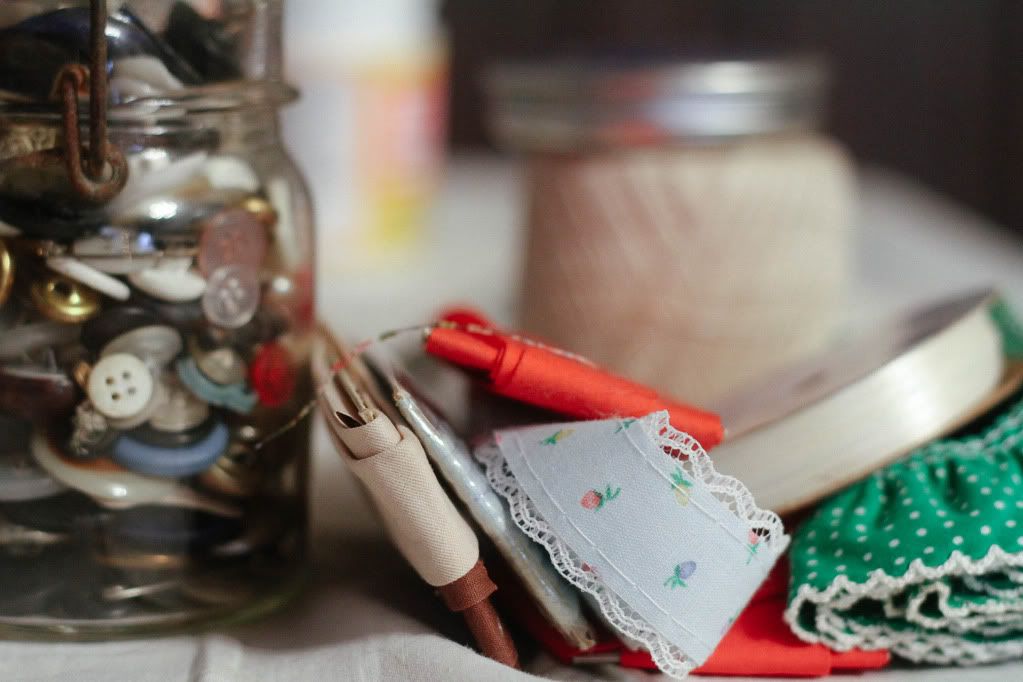
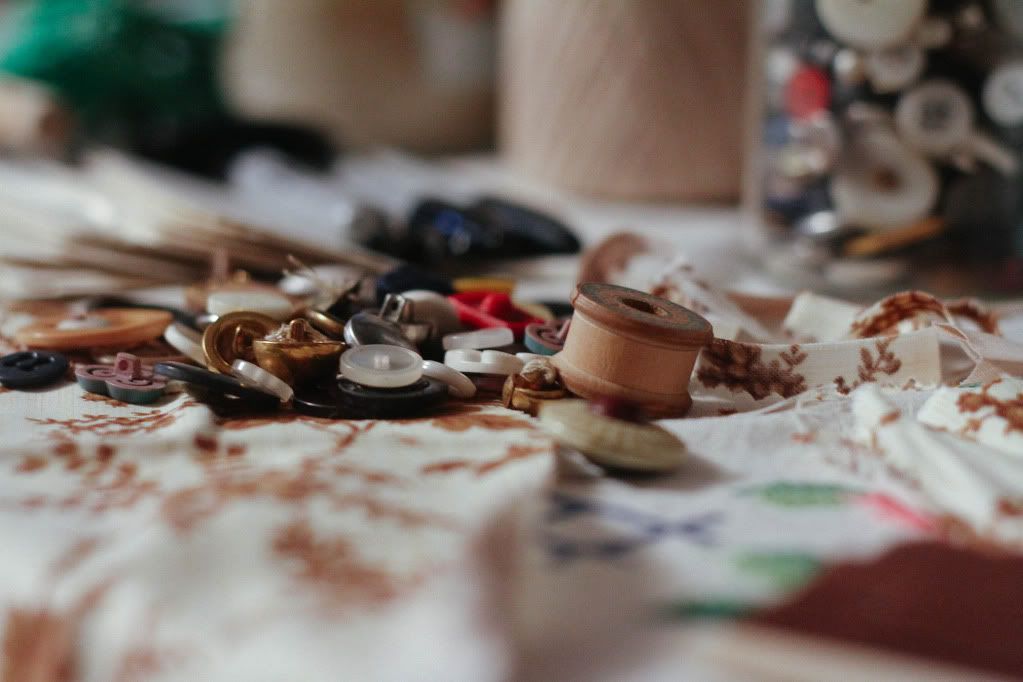
Supplies needed:
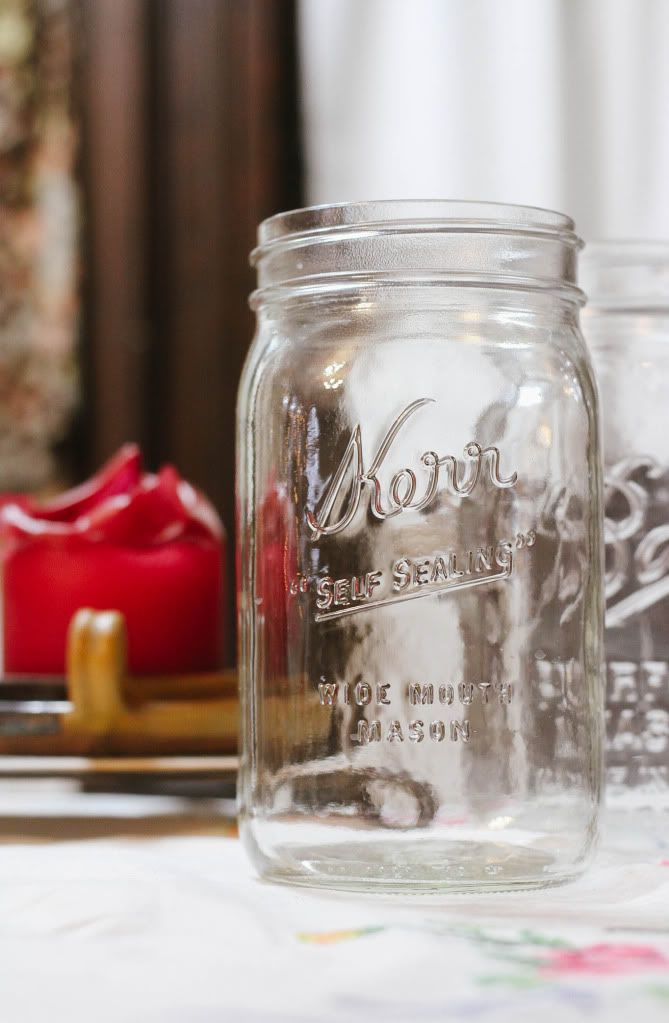
Mason jar.
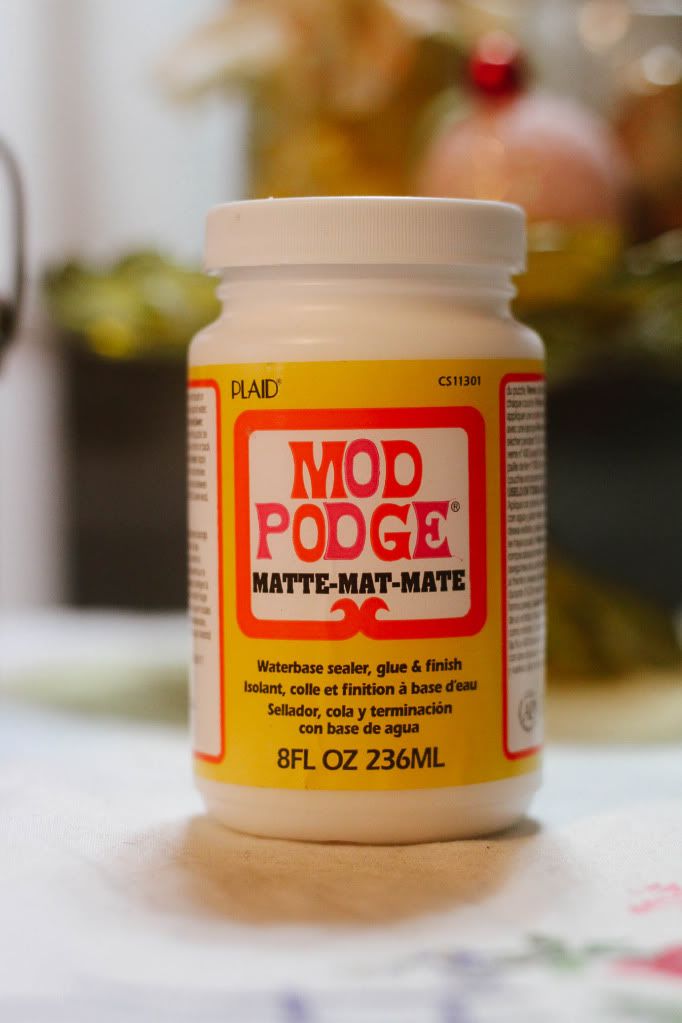
Glue.
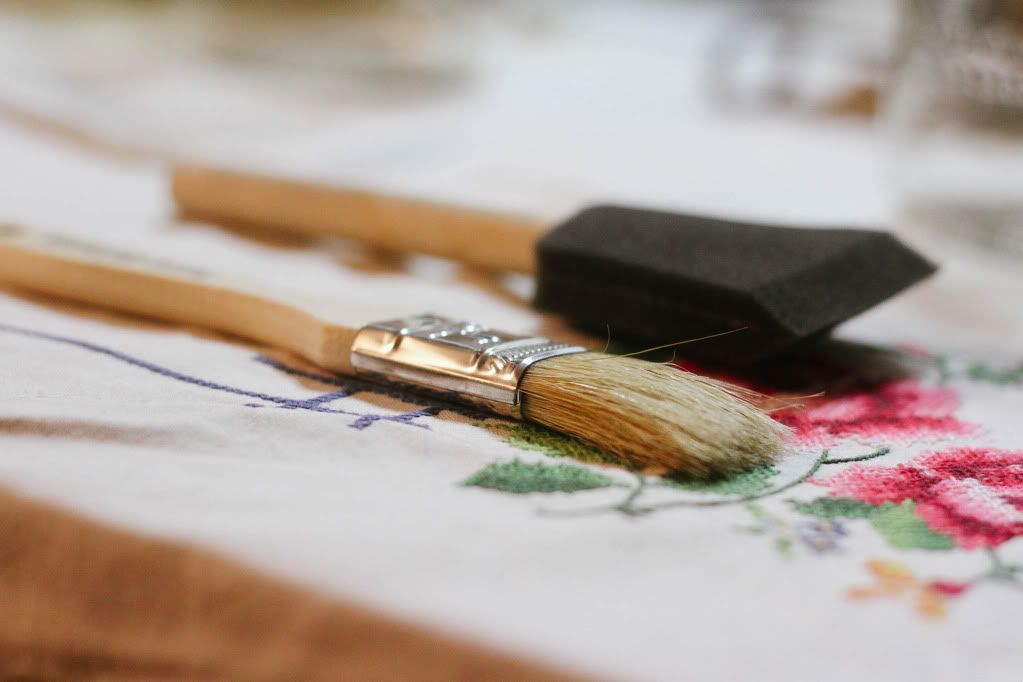
Ribbons, bows, buttons, or anything else you want to use for decorating.
Papper scraps to jot down your ideas.
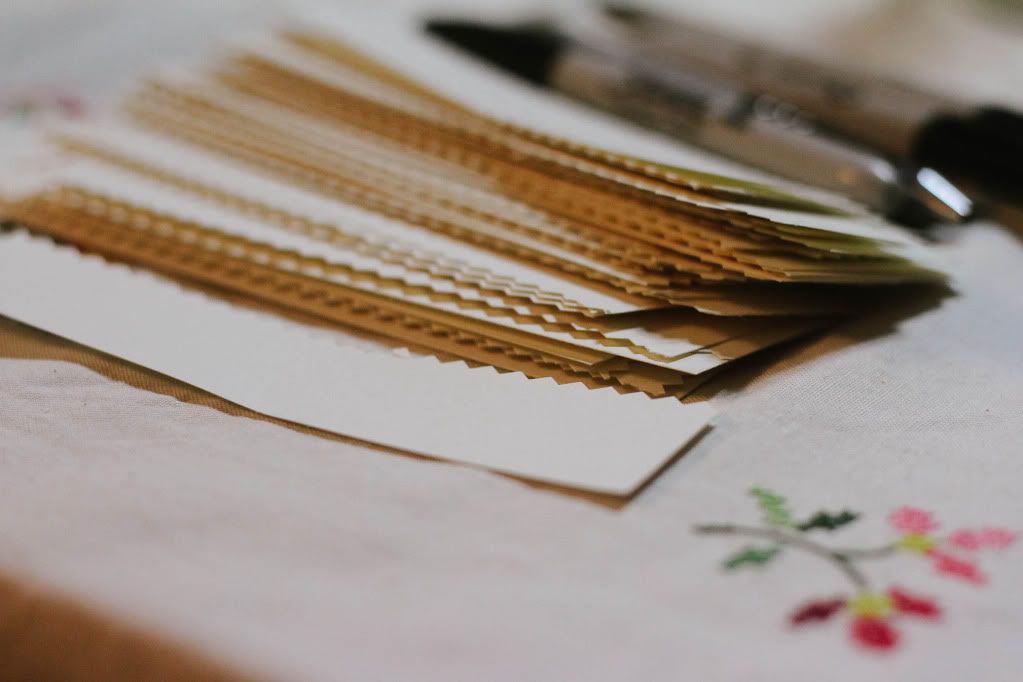
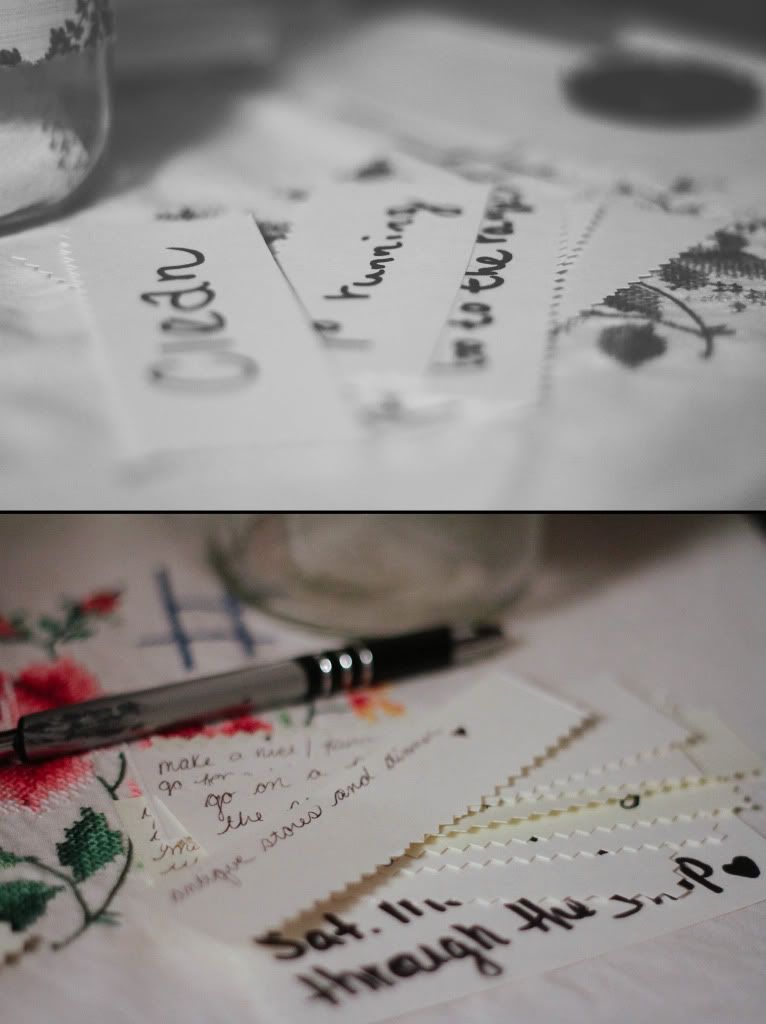
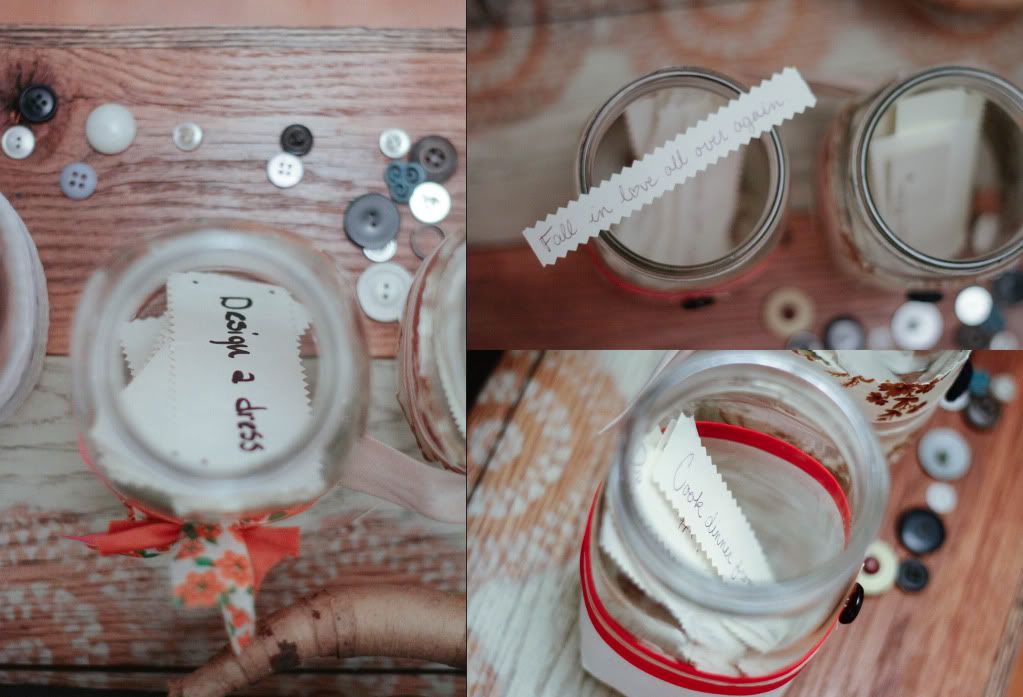
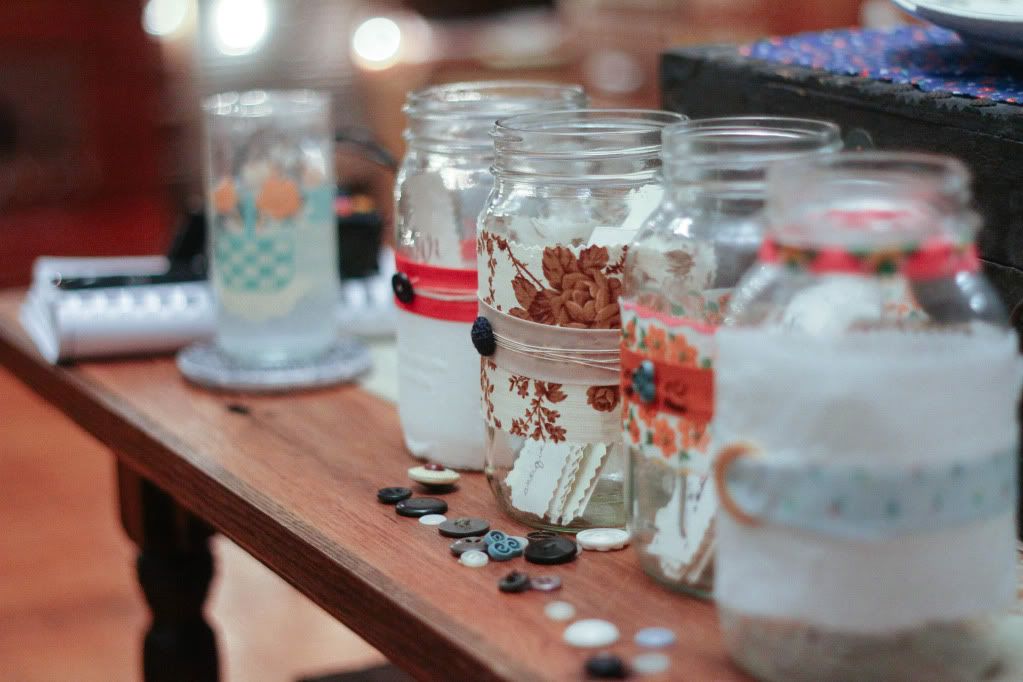
I don't know about any of you but I'm definitely guilty of wasting time, simply because I can't think of something to do. I think this is a great little motivator. So whenever I have an idea for a date or something else I really want to try, I just write it down and drop it in the jar. And, anytime I need a little push to do something I can just pick from those ideas. Plus, it looks pretty cute on my living room desk.
Hope you find this helpful!
-sarah


