photo aboutus_zps72b4528a.jpg  photo fashion_zpsd5a79a41.jpg  photo handmade_zps6c44253c.jpg  photo recipes_zps2829987f.jpg  photo popculture_zpsc1606063.jpg  photo odds_zpsc2c2e360.jpg  photo links_zpsa73b8e77.jpg

Sunday, April 8, 2012

Happy Easter.

Happy Easter from Melisa and Danielle circa 1990ish.
We even have matching bruises on our legs.

I was definitely too old to be wearing a get-up like that.
Thanks mom.

-melisa (and Danielle)

Saturday, April 7, 2012

Sticker Makin' Saturday.

(This isn't really a tutorial, because it's just too dang easy)...

Today I decided to pull out my little "Xyron Create A Sticker" Maker
and make some stickers for packaging and more.

This small version can be purchased for under $15 at most craft stores or online.
The only issue is they can only be about 2 inches wide.


I went through my misc. papers and old magazines, books, etc and found 
some fun images to use.
You can also use fabric or cut strips of paper to use as a "washi tape".
I also used my typewriter to type up some phrases and drew a few little designs too.

*That Steven Tyler in the corner is for Andrea*

All you do is put your paper in the top...

Pull it through from the bottom...

 Rip, rub and peel it...
Trim it if you want to save them for later.

Voila!

Here are some of my newly made stickers...


Now to stick em!


I have always been curious about the larger sticker makers,
if anyone has one, what are they like?


-melisa

Friday, April 6, 2012

Jean Vest Re-vamp.

I found this old jean vest hanging out in my closet.
I had thrifted it years ago with plans to altar it.
I forgot about it until a couple of days ago.

So with some studs and fabric and in less than a couple hours,
we have a whole new unique look.

BEFORE...


AFTER...


I used to put studs all over everything back in my "punk rock days",
I forgot what a pain in the butt it is. It hurts your fingers.


And since you are dying to see me model it...


Find it on etsy here.

It's fun to upcycle things!
Do you have any projects like this?

-melisa

Thursday, April 5, 2012

Back in March...


Plenty of coffee & treats in the month of March.

I finally was able to develop a roll of film that
I took with this guy over a year ago.

Sweet Lena.


DIY hair comb! Tutorial found here.


Made a little peephole lens for fun!


Our March was truly beautiful & how spring was meant to start. It was such a boost to the spirit & just what we all needed. I love this time of year.
Have a wonderful Easter weekend!

-sarah
Have a beautiful Easter weekend!

Friday, March 30, 2012

Spring Orange Blossom Cookies

I am a big fan of anything citrusy, so when I stumbled upon a recipe for orange cookies I was pretty excited. I used this recipe and am extremely pleased. I didn't have vanilla bean paste and was in no mood to fight grocery store traffic, so I just used vanilla extract. (P.s. start reading Bridget's blog immediately if you know what's good for you. She's mastered the art of baking and making the rest of us look bad.)

Orange Blossom Cut-out Cookies- Makes 12 four inch cookies
3 cups unbleached, all-purpose flour
2 teaspoons baking powder
1 cup granulated sugar
2 sticks (1 cup) salted butter, cut into chunks
1 egg
1 teaspoon pure orange extract
1 teaspoon vanilla bean paste (I used extract!)
1 teaspoon grated orange zest

Preheat oven to 350F. Line 2 baking sheets with parchment paper.
1. In a medium bowl, whisk the flower and baking powder. Set aside.
2. In a large bowl of a standing mixer, cream together the butter and sugar using the paddle attachment. Beat until creamy and fluffy.
3. Beat in the egg, extract, vanilla, and zest until well combined.
4. In three additions, add the flour mixture on low speed. Scrape the bottom and sides of the bowl between additions. Beat just until combined. Any stray bits of flour in the bowl can be kneaded in by hand.
5. Flour a rolling pin, work surface, and cookie cutter. Roll the dough to approximately 1/4" thick. Cut with the floured cutter and place on prepared cookie sheet. Freeze the cookies for 5-10 min before baking to prevent spreading.
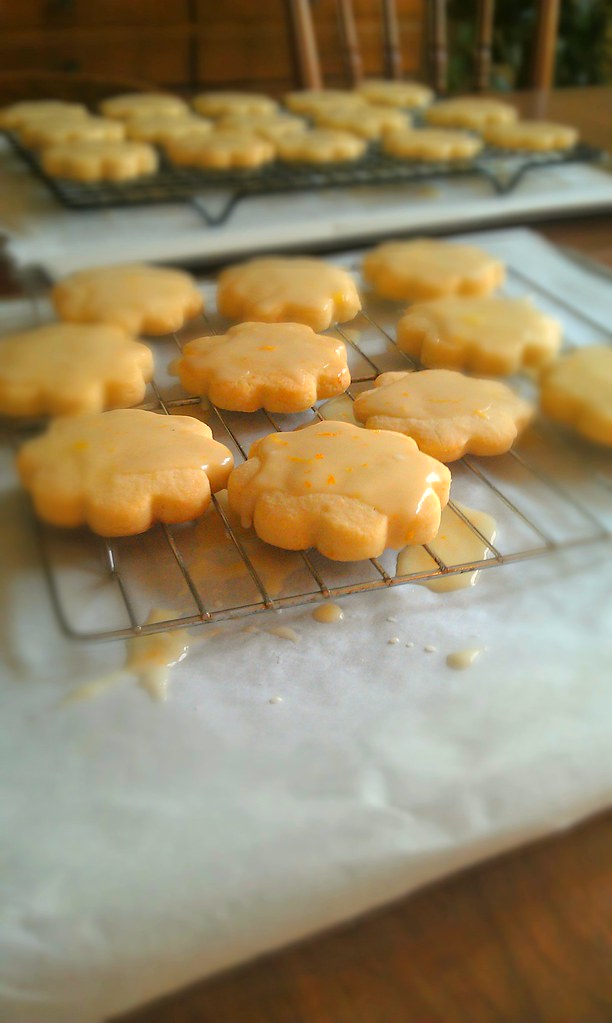
6. Bake the cookies for 9-12 minutes, depending on size. Cool on the cookie sheet for one minute, and then transfer to a wire cooling rack to cool completely. **Keep your cookie sheet/parchment paper combo handy for glazing the cookies for easy clean up!


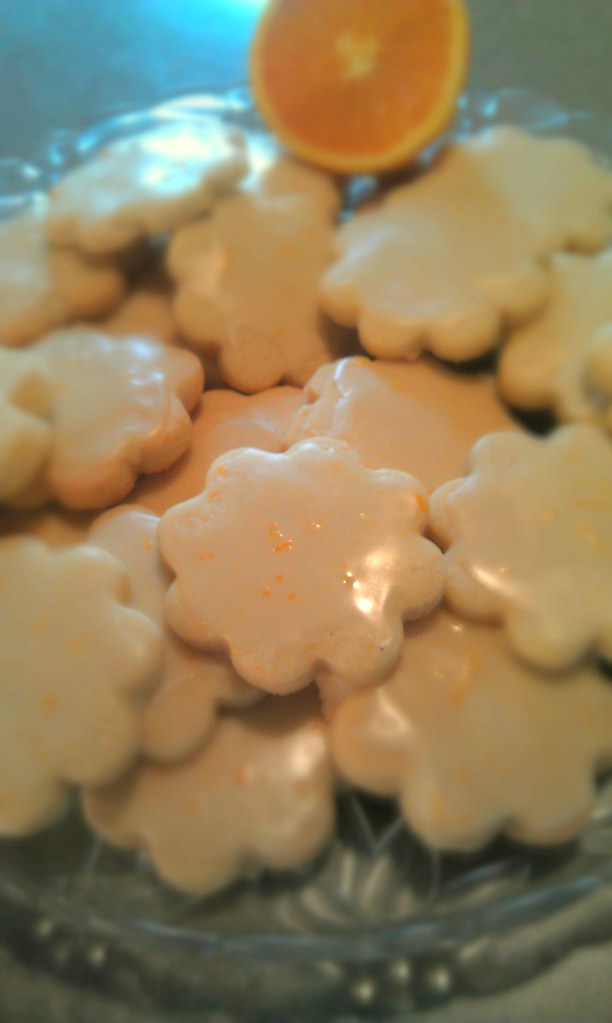
I am not a fan of icing what so ever, but the glaze that goes on the cookies is so good I couldn't stop eating it. Since I didn't have the vanilla bean paste to add the little flecks, I just grated in some orange zest to give it a little something extra.


Orange Blossom Glaze
1 cup powdered sugar
1/2 teaspoon vanilla bean paste (I used extract again)
1/4 teaspoon pure orange extract
1 & 1/2 to 2 tablespoons of orange juice.

Whisk all together to a thick, pourable consistency. Place the cookies on a wire rack over a cookie sheet to catch drips and pour the glaze over the cookies. Spread with an offset spatula, if need be.

Go make these right now!!!

-andrea